

My love for aerial drone photography started with my DJI Phantom FC40, which didn’t have much of a camera, progressing on to the DJI Phantom 2 with Zenmuse H3-3D Gimbal & GoPro to my current DJI Phantom 3 Professional. Later in the article I will also be talking about which drone I recommend and why.
Table of Contents
Drone Photography Tips
1. Check the weather report

One of the easiest steps you can take to improve your aerial photographs is to check the weather forecast before venturing outside. Just like with ground based photos, capturing the scenery on a sunny day will yield better colours, shades and highlights. More sun means more light and therefore higher quality photographs.
However, do not overlook an overcast day, sunrises and gloomy days as these may provide you with some excellent dramatic photos which you can later manipulate with filters to your own advantage.
Light is important, but even more important are the windy conditions. Any professional photographer knows that a tripod is a prerequisite when going on photoshoots. When flying a drone, we haven’t got the luxury of using a tripod, but we can ensure maximum stabilisation by flying on a non-windy day. You really need a calm day with <5 mph winds to make it easy for yourself and fly your drone without any problems.
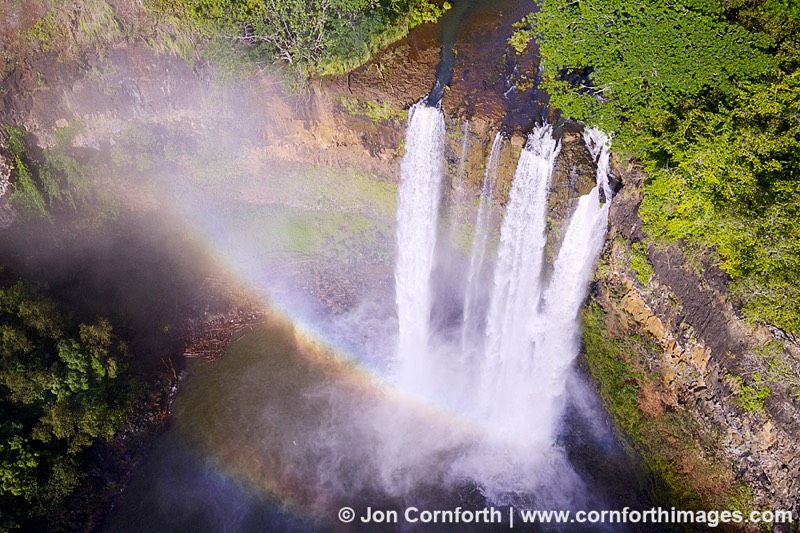
2. Choose a focal point
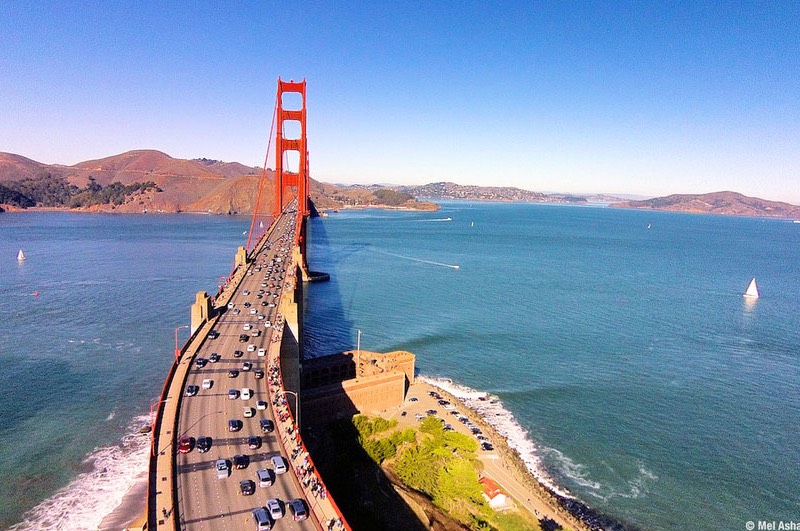
An eye catching shot will definitely have a focal point in it. Whether capturing landscapes, buildings or taking self portraits with your drone, choose the right focal point will pay dividends.
Focal points can be anything from rock formations, to animals, waterfalls or buildings. I recommend experimenting with different types of focal points until you find the one you are most comfortable with using.
It matters both what and where the focal point is. You can use the rule of thirds to gain an idea of where the focal point would look most suitable in the photo.
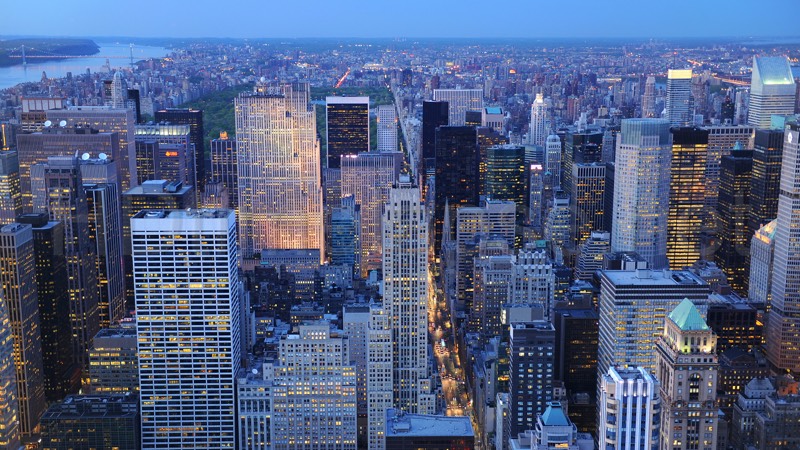
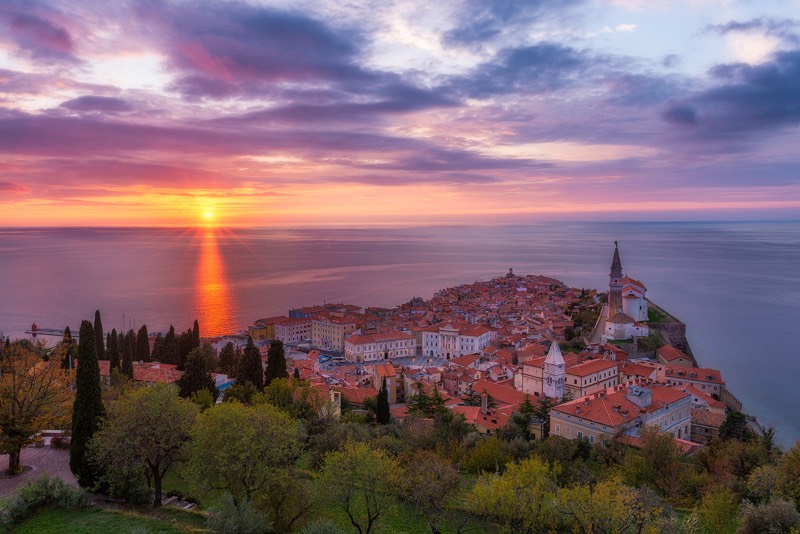
3. Consider the sky

Another important factor is the sky, especially if you are using your drone to take a landscape photo. What does the sky look like? Is it boring and bland? If so, you may choose to take less of the sky in your photo and focus more on the foreground.
On the other hand, if the sky has exciting colours and cloud formations, you may choose to fill at least half the photo with your sky and the clouds.
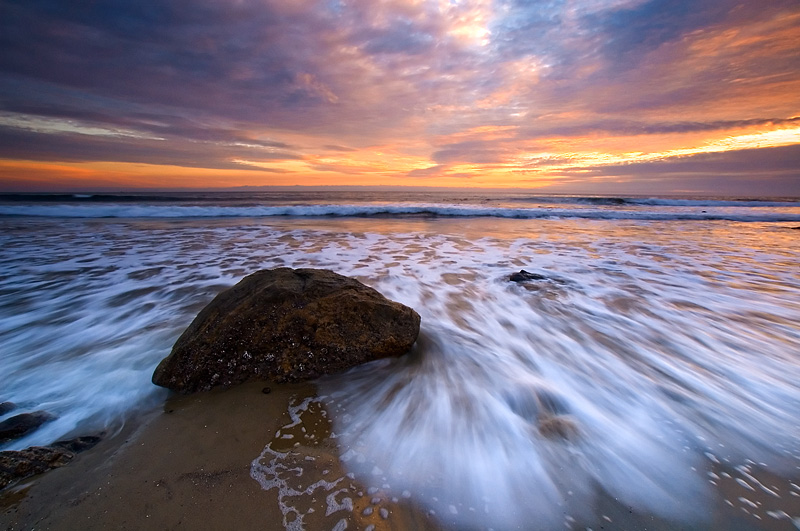
4. Watch out for the Golden Hours
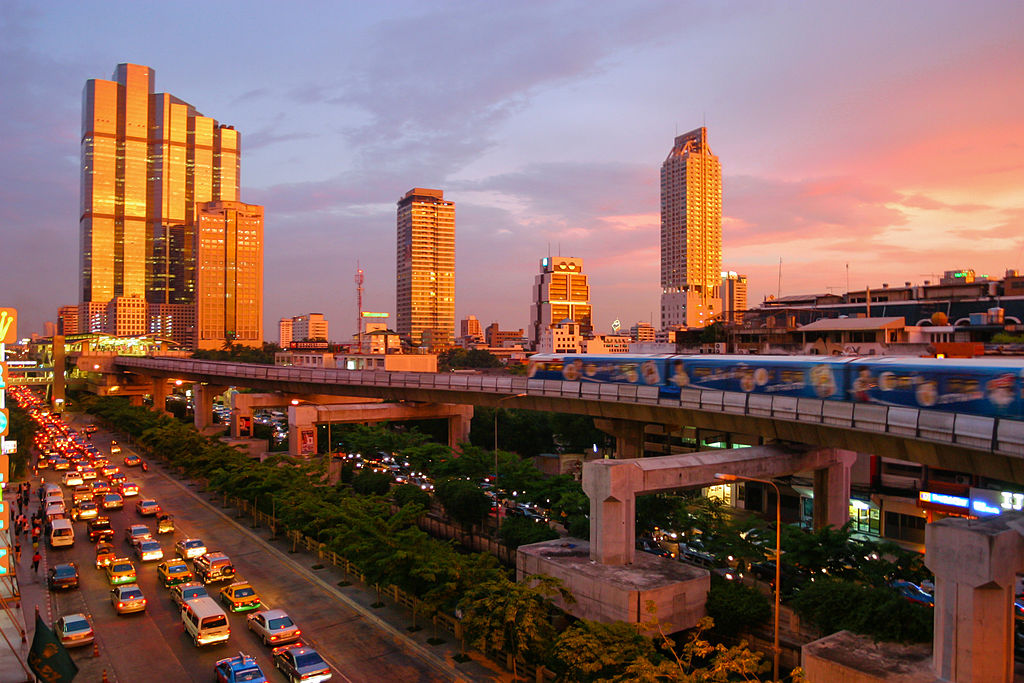
Many photographers refuse to shoot during the day and instead wait for the period shortly after sunrise or before sunset to capture the best reds and soft colours.
When shooting landscapes and aerial city views, this is the time when the scenery really comes to life. It is also when the city becomes more active than ever and is ideal if you are looking to capture some motion in your photos.
5. Get the Right Drone Camera
The best drone with camera you can buy at the moment is the DJI Inspire 1. If you have the $2,500+ funds, then I fully recommend it. However, if you are not yet prepared to spend so much on a drone then you still have two great options:
- DJI Phantom 3 Professional: The 4K Camera and the revolutionary Lightbridge connection and increased stability of this drone is a no brainer. You can fly it further and take clearer videos and photographs than with any of the previous DJI Phantom drones. Click here to buy.
- DJI Phantom 2 with H3-3D Drone gimbal + GoPro Hero 3: At $699, this is probably the cheapest drone I would recommend if you are serious about drone photography. You can either go for the GoPro Hero 3 or the Hero 4, as there isn’t much difference between the two. The H3-3D Zenmuse 3-axis drone gimbal is however what makes this drone ideal for aerial photos and videos as it provides unrivalled stability and reduced camera vibration for the price – think of the gimbal as a shock absorber.
6. Change Your View Point

When flying your drone, the sky is your limit. Experiment with different points of view and see what looks best. FPV flying has made it easy to capture exactly the photo you are looking at on your iPad app.
I often see people travel on a scenic road, get out of the car, quickly take a photo and move on. Although that’s great for having a large collection of photos, it will not lead to the ‘wow’ factor we are all aiming for. With a drone you have a good 20-25 minutes of flying time so there’s no point rushing. Take your time and check out different angles before moving on to the next location.
Remember, flying higher does not necessarily mean you’ll grab a better picture.
7. Balance Your Propellers
A trick not many people know about is that balancing your propellers can lead to mass improvements in your drone flying abilities. Here is a great video on Youtube of Jesse showing you how you can balance your propellers by slightly sanding of one side to ensure they are equally balanced on both sides. You can grab yourself a propeller balancer for as little as $4.99.
One other thing you should be aware of is carbon fiber propellers. Some people like them, others don’t. Hohendorf, the professional National Geographic photographer recommends carbon fiber propellers for your DJI Phantom instead of the standard plastic ones. “Carbon Fiber props are a must have for anyone using the phantom to capture visual content”. However, I personally have not had this experience and found CF props to do more harm than good since the standard propeller’s ability to flex is actually beneficial to the smoothness of the flight. If you’re not convinced and you want to try out something new, then you can buy DJI Phantom drone carbon fiber propellers for $22 for a pack of 4 pairs.
8. Master GPS Mode
Most professional quadcopters will come with GPS mode. For the DJI Phantom drones, you should wait until the red lights stop flashing to ensure that GPS mode is enabled and the drone has successfully connected to the satellite(s).
The beauty of GPS mode is that you can simply fly to a location, then let go of the controls and the drone will hover over that area. The quadcopter is now guided by the GPS coordinates you have flown it to, which are essentially a series of numbers.
Try it out next time and I guarantee you’ll see an improvement in your shots.
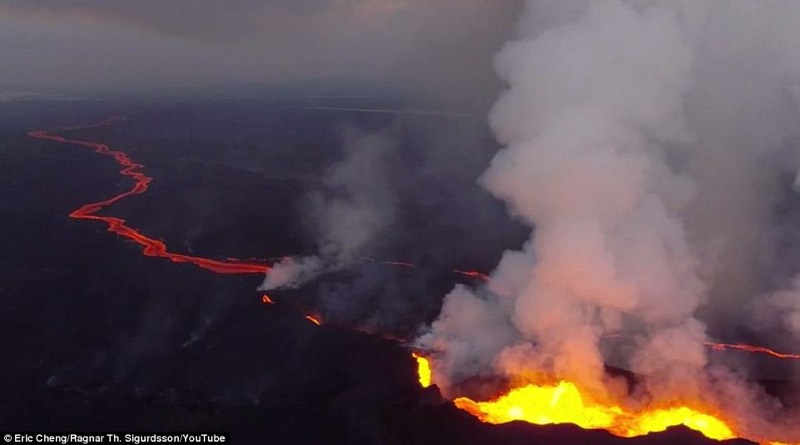
9. Capture Movement
Do not limit yourself to capturing still shots. You can give your photos a sense of movement by increasing your shutter speed for drone cameras where this is customizable. Of course, doing this means that more light will hit your camera sensors. You will need to either decrease your Aperture or only shoot in lower light conditions, perhaps during the golden hours, on a cloudy day or at night, otherwise your photos will be too bright.
10. Master Photo Editing
Finally, after you’ve taken the photos it is now time to edit them. What many photographers fail to mention is the image processing that goes on at home behind the scenes. Adobe Photoshop Lightroom may take a while to master, but it can help you completely transform your images into even more breathtaking shots. Adobe currently offers a 30-day free trial which I truly recommend taking. It’s enough time to see if this product is right for you. Other image editing software includes Photoshop and Aperture for Mac, which I prefer using for a quick retouch.
Professional drones such as the DJI Inspire 1 will store raw footage with dynamic ranges you can play around with to enhance and make your photos come to life.
If you found the article useful, don’t forget to share it with your friends! Do you have any tips you would like to share?
Some nice tips there Matt, thanks for writing up the article!